Quantcast
Channel: iMessage Tips
Viewing all 82 articles
Browse latest View live

How to troubleshoot and fix problems with iMessage

$
0
0

How to troubleshoot and fix problems with iMessage

iMessage is Apple's own proprietary messaging service that ties directly into the Messages app of both iPhone and iPad. By doing this you can seamlessly send regular SMS and MMS messages alongside iMessage. If your friends and family have iPhones or iPads too, iMessage just works. Well, most of the time. Just like any other service, iMessage isn't error prone. From activation issues to errors sending, iMessage has its fair share of problems and most of us have experienced them at one time or another. Here are some steps you can take next time iMessage is giving you problems:

1. Make sure iMessage is actually the issue

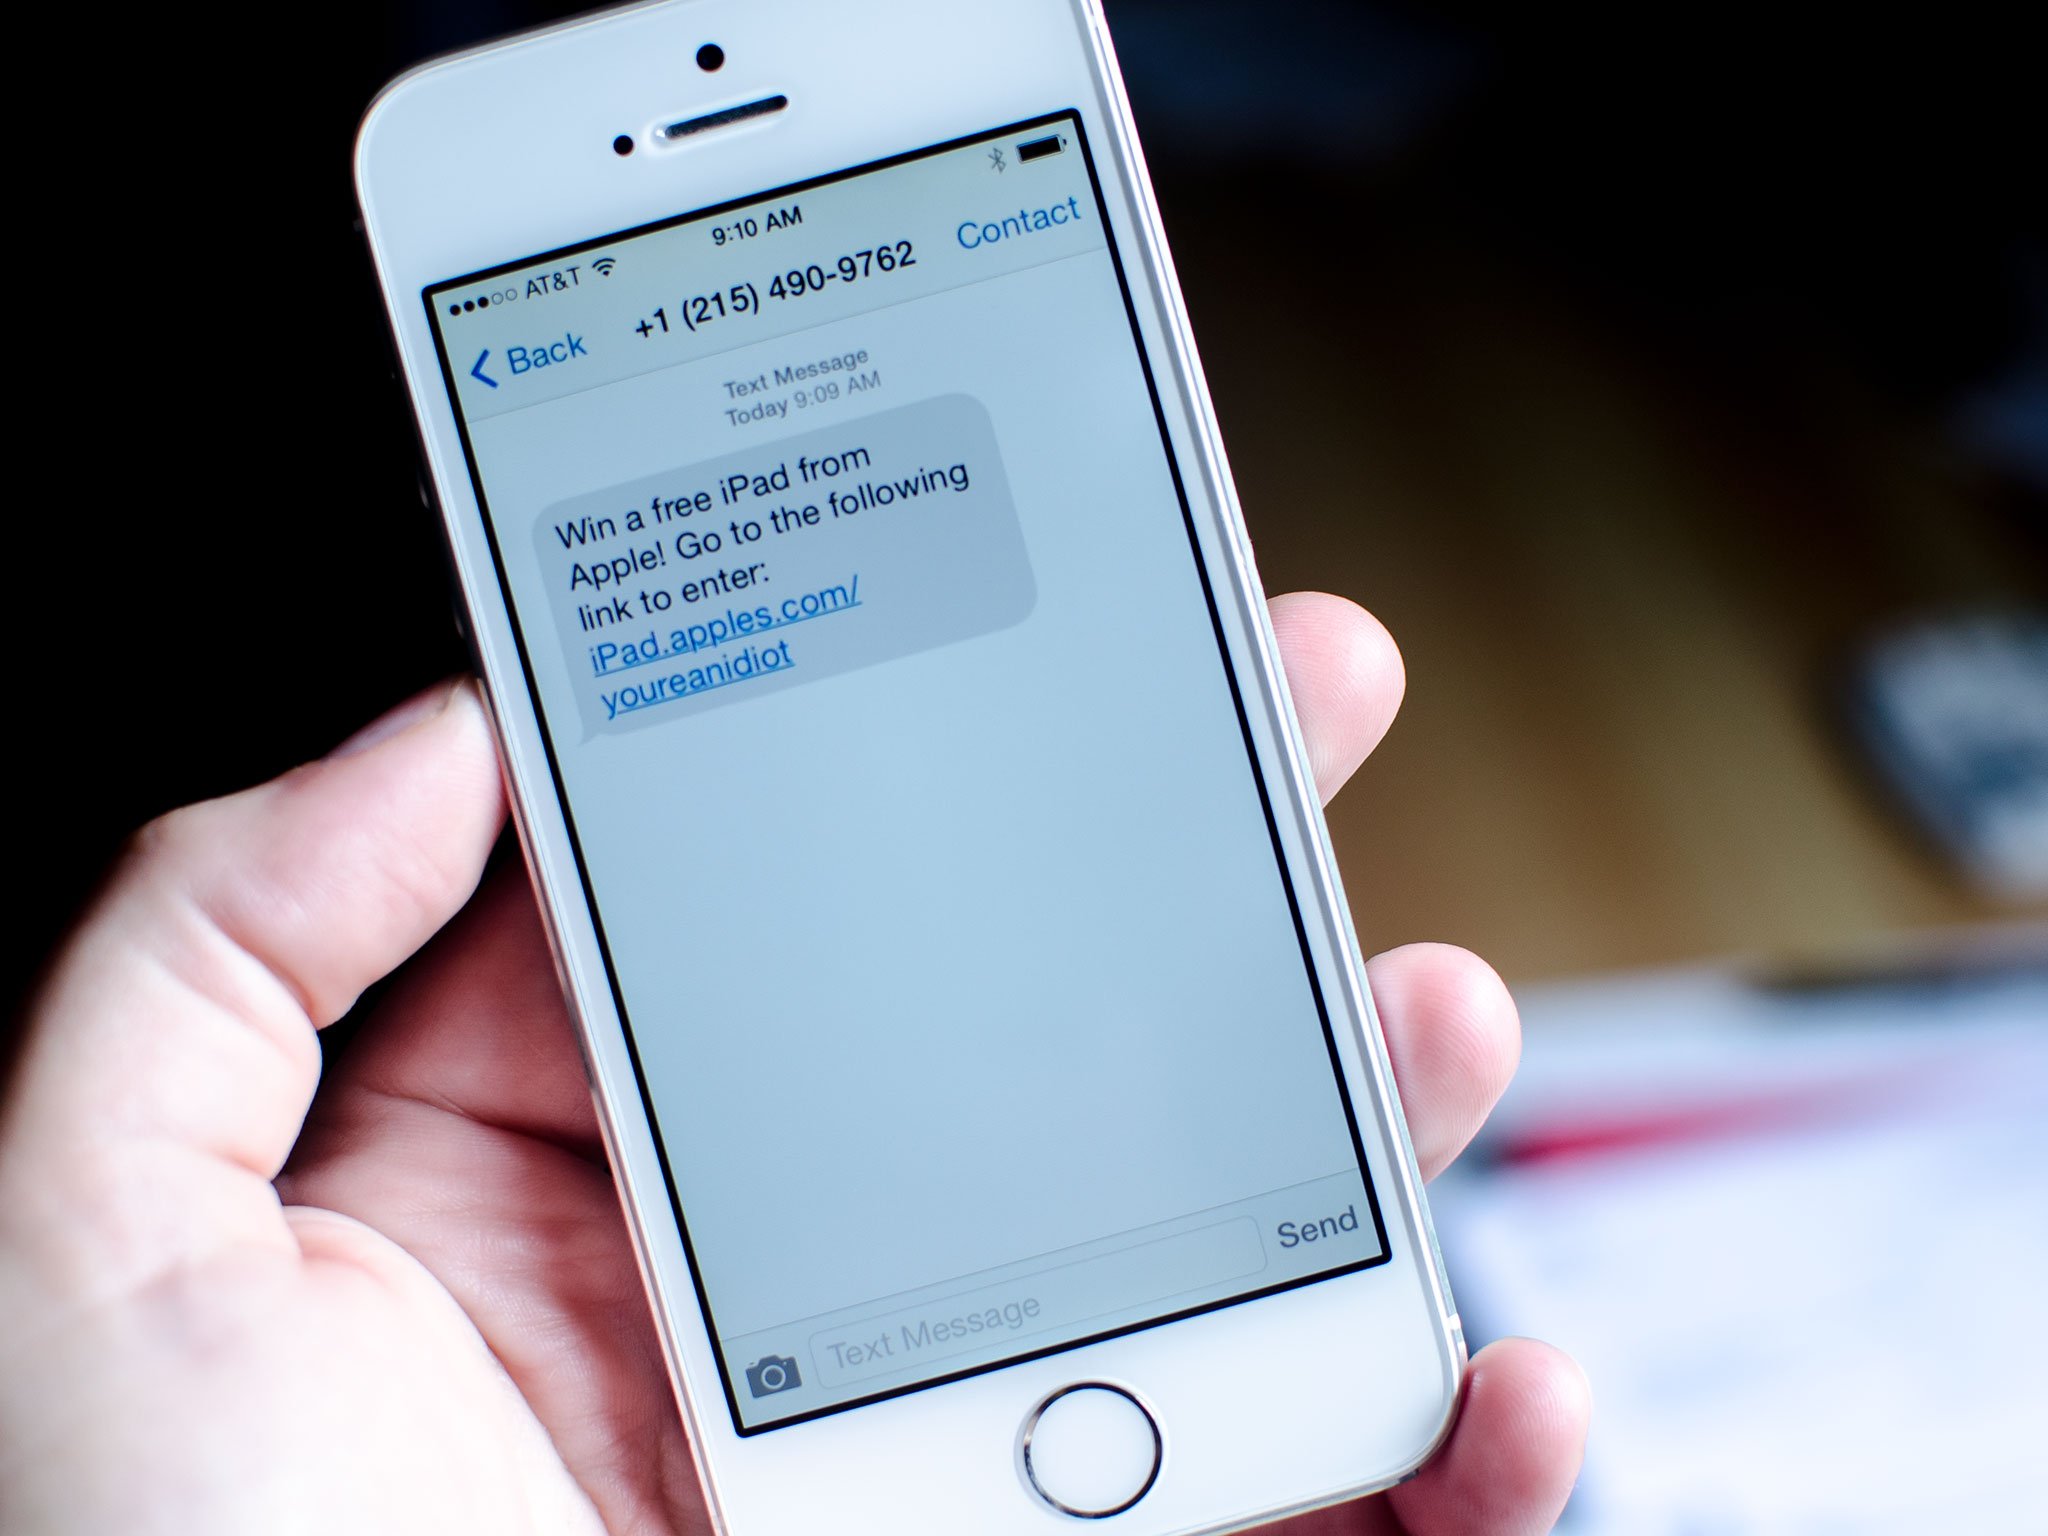
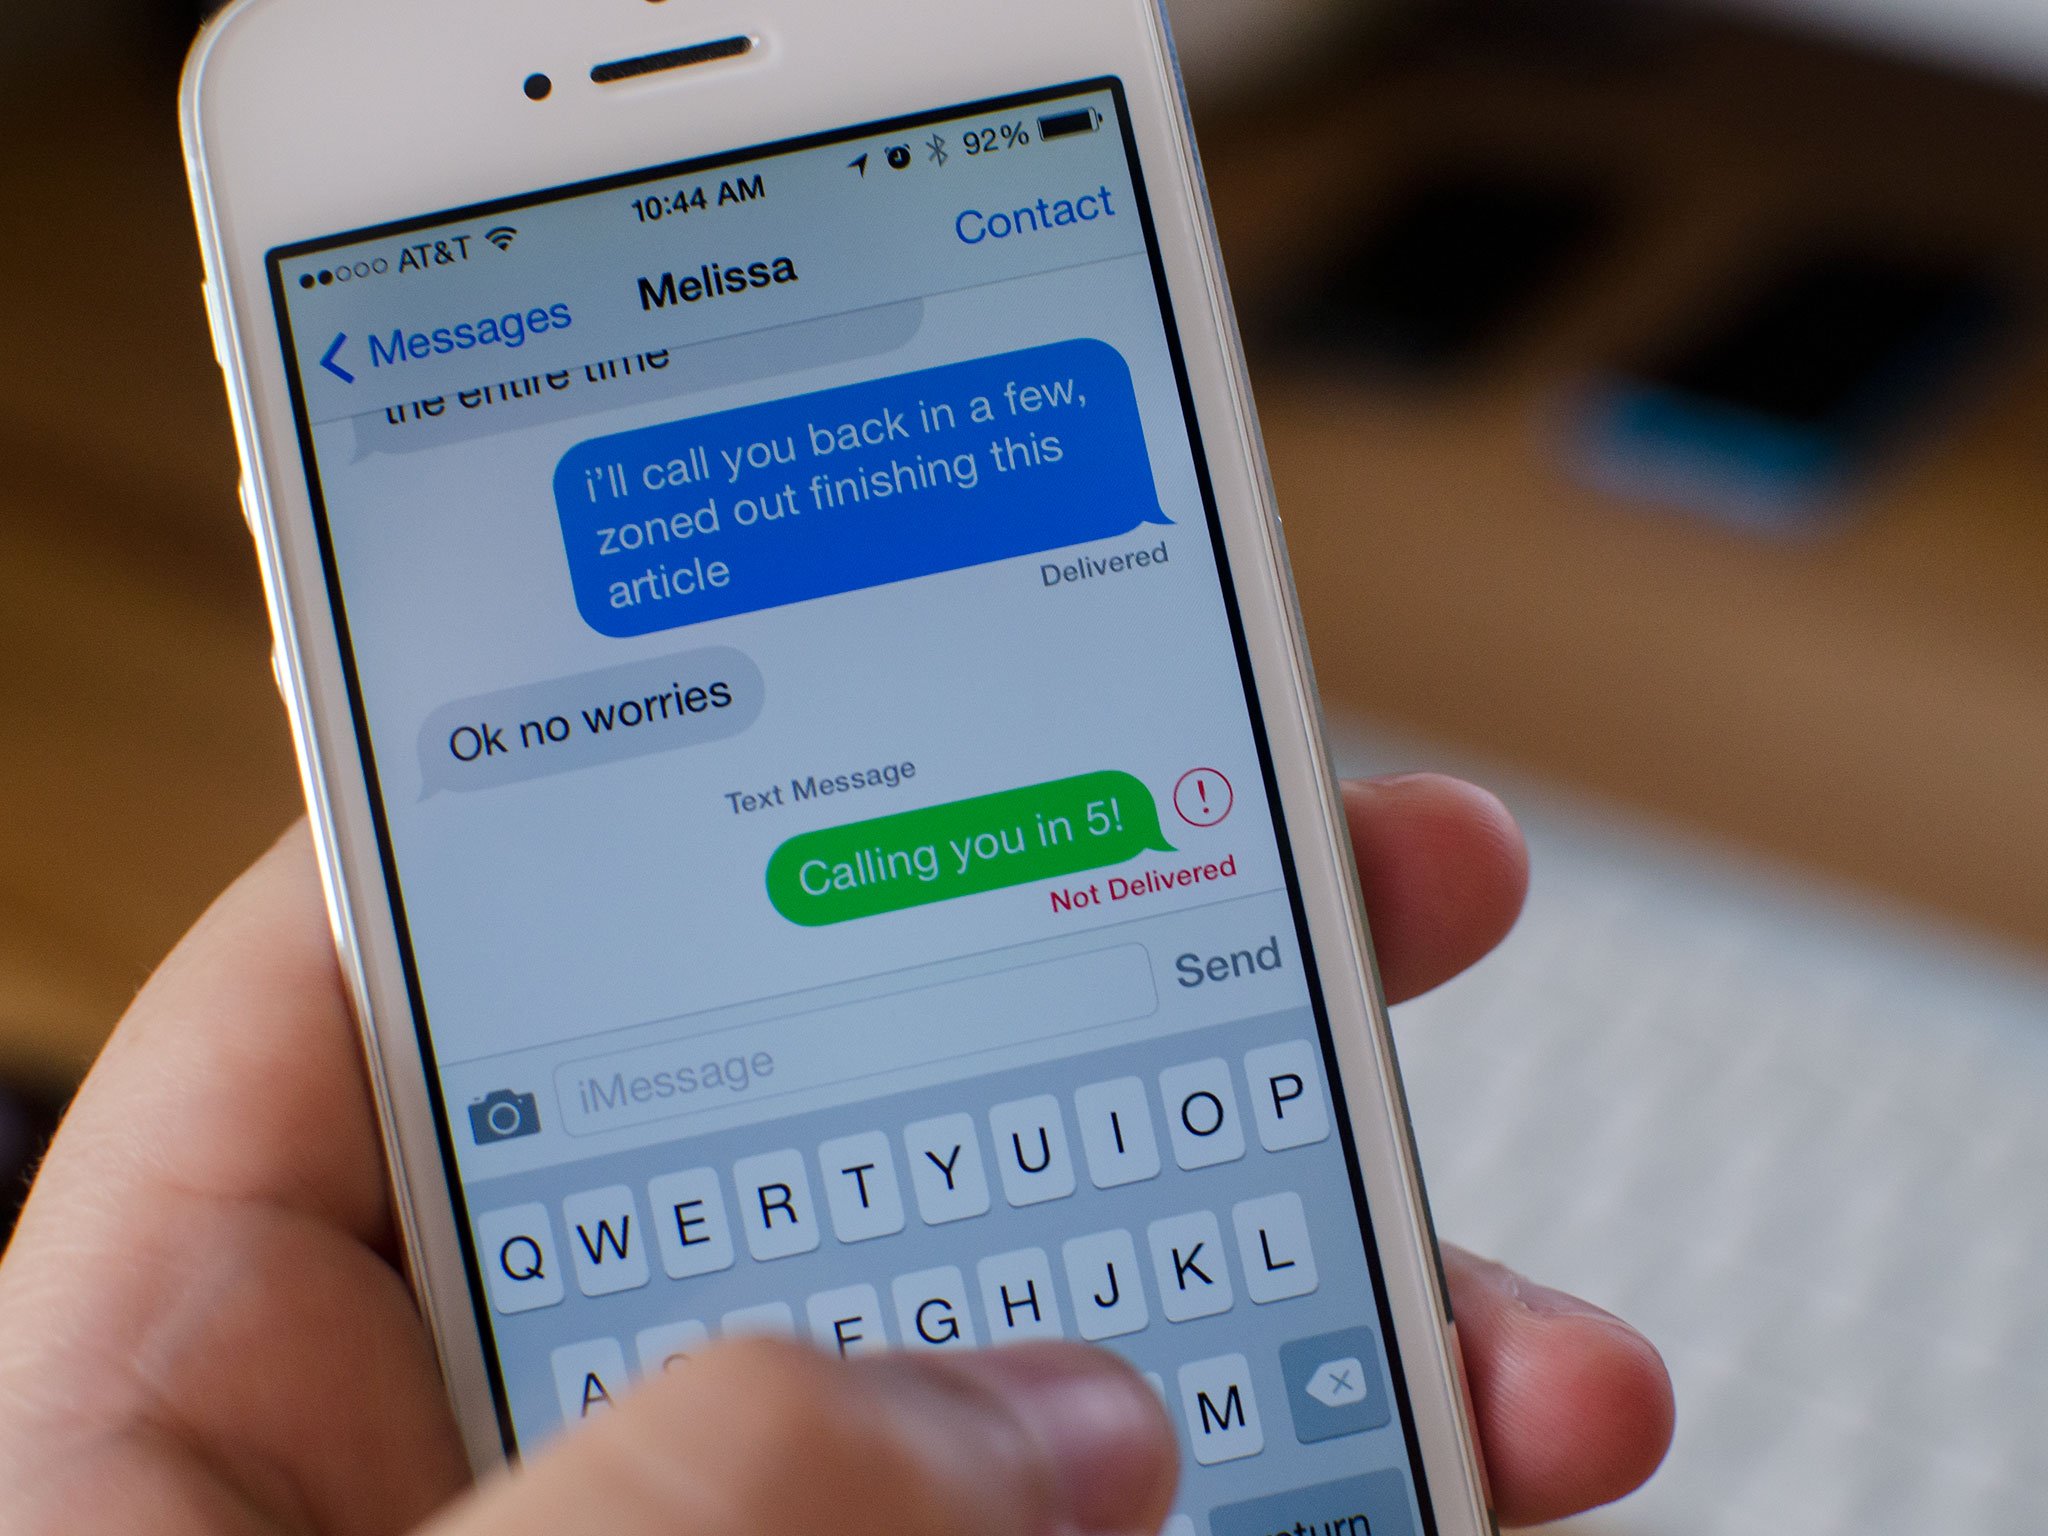
A lot of us spend more time inside the Messages app than any other app on our iPhones or iPads. If your messages are hanging up and not sending, be sure that you have an active data connection. Do this by loading a webpage or another app that requires a cellular or Wi-Fi connection.

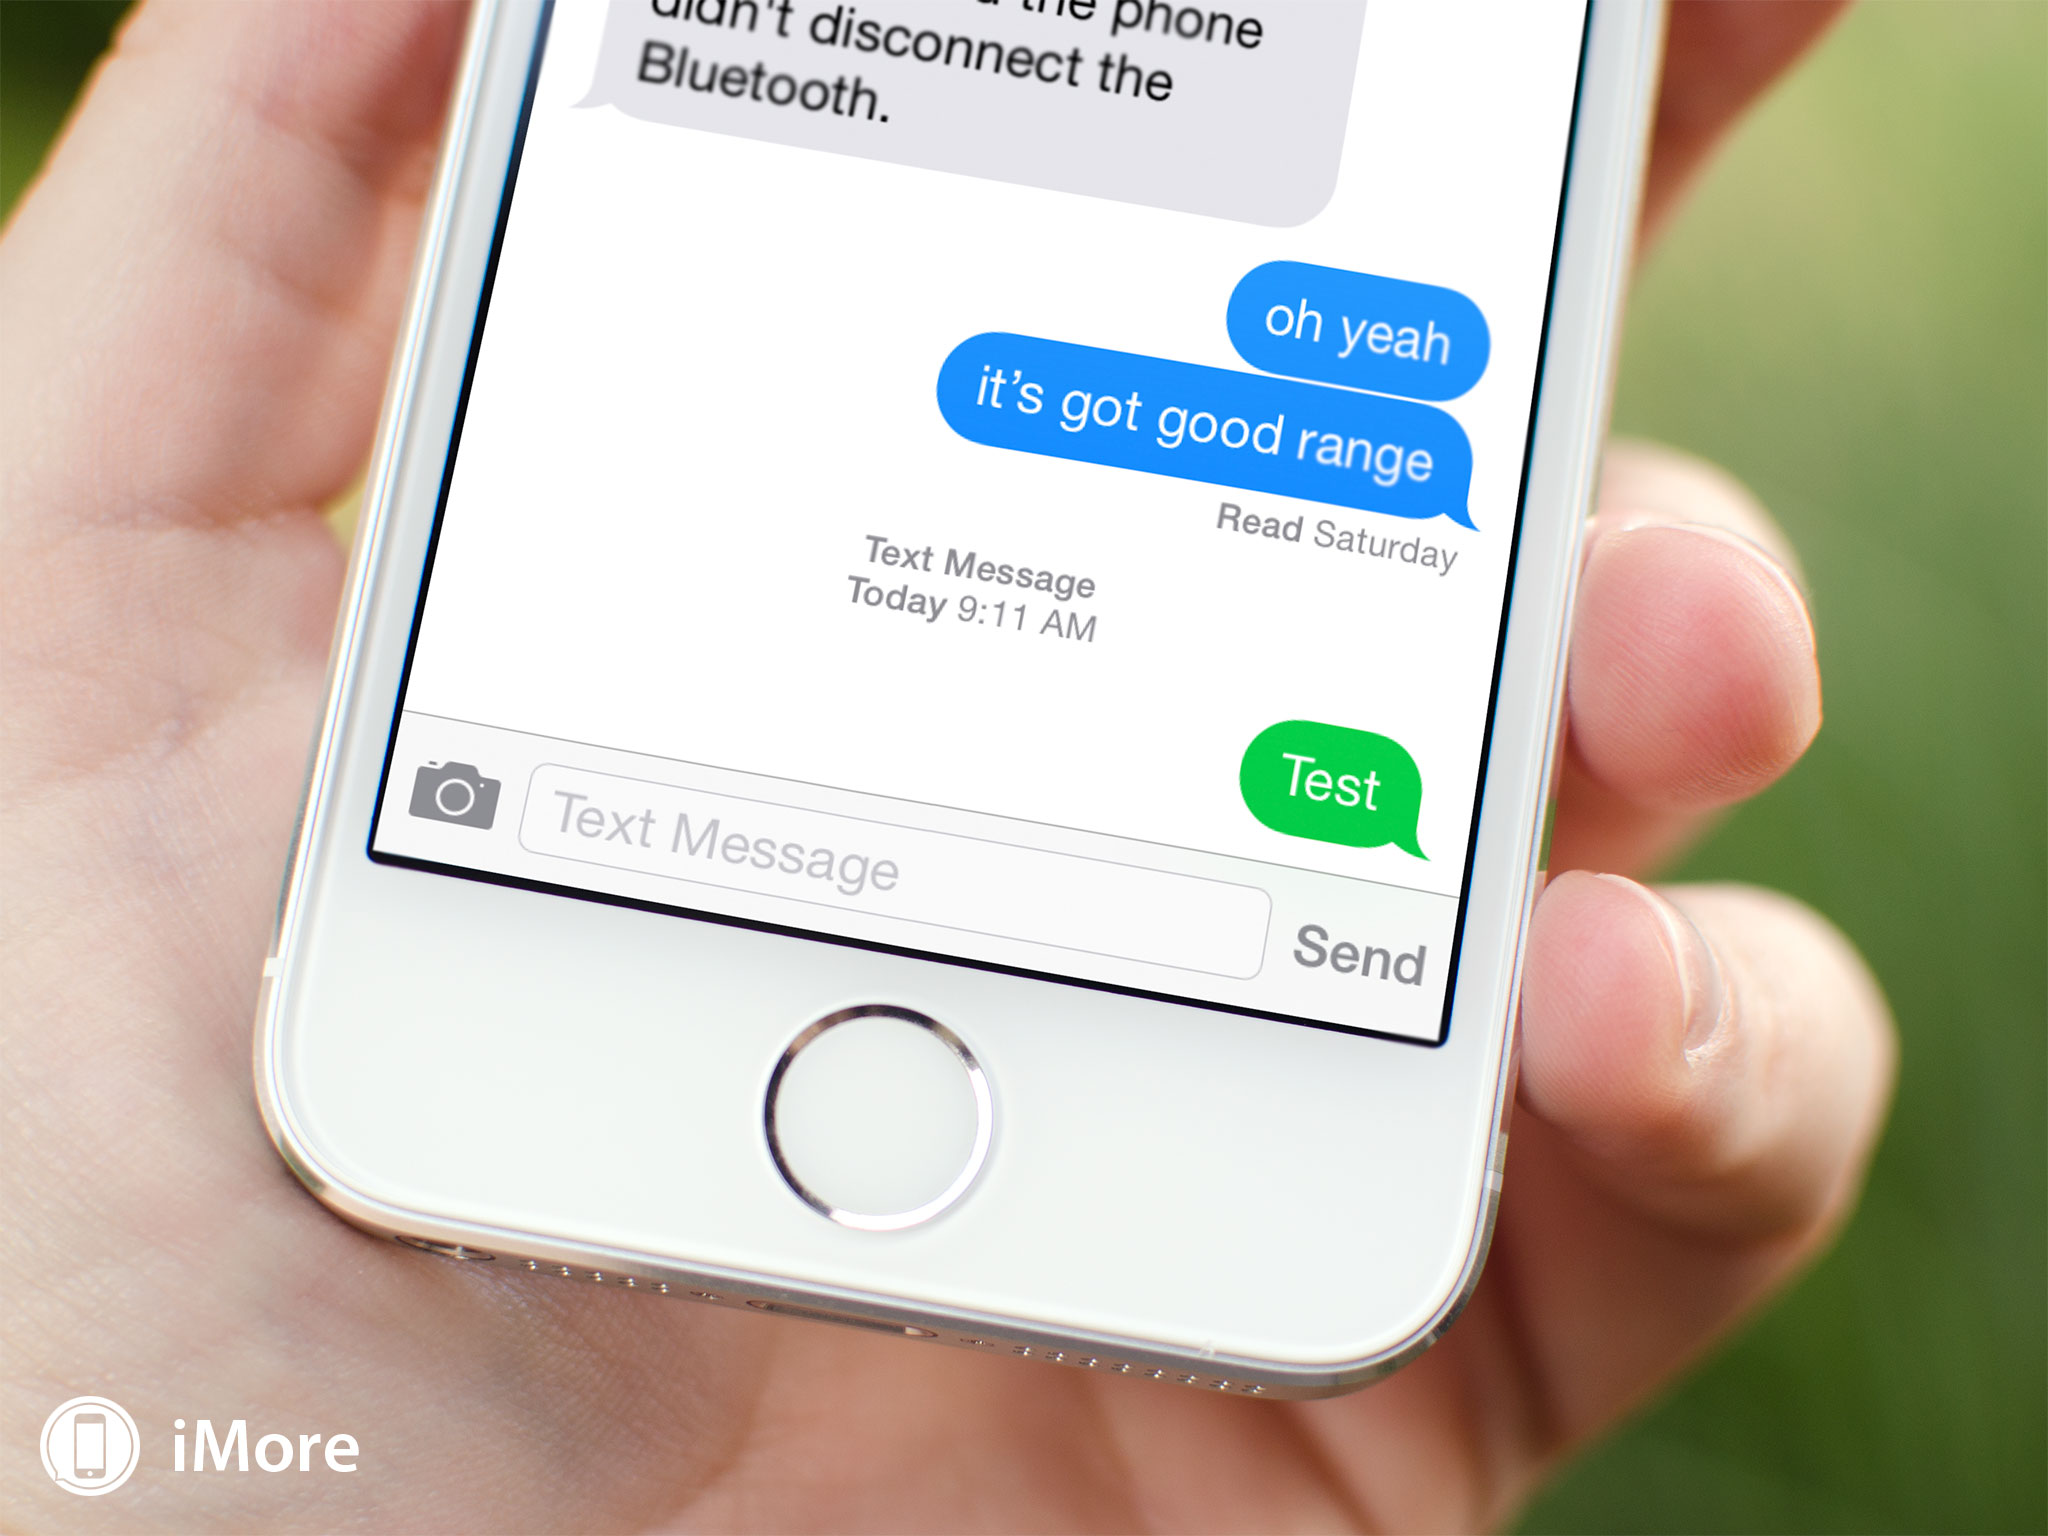
If no data is loading period, the problem is with your data connection, not iMessage. If everything else loads fine, the issue is iMessage related and you should move on to the next section.

2. Check iMessage system status

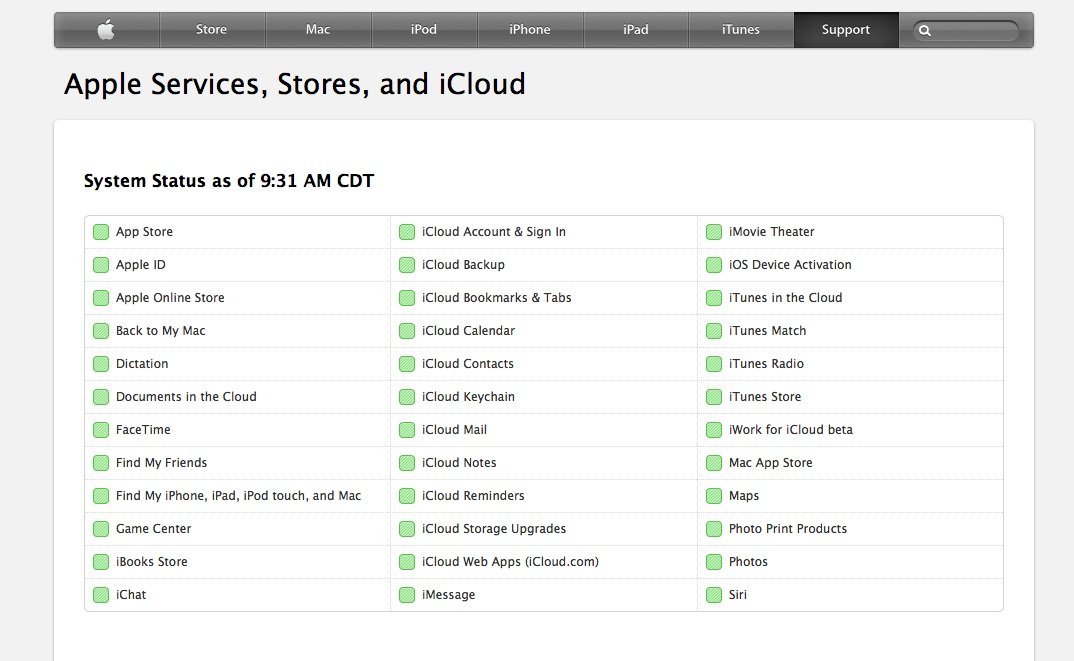
From time to time Apple may perform maintenance or run upgrades that could temporarily interfere with services such as iMessage. You can quickly check iMessage's status by clicking the link below.

If you live outside the US, a quick Google search for something like "iCloud system status UK"— replacing UK with your country name, should bring up the system status page for your country.

If the status light next to iMessage is not green, that means there are known issues so you'll need to just wait it out. If the status light is green, continue on to the next step.

3. Reboot your iPhone or iPad

Restarting your iPhone or iPad can fix a lot of problems, and iMessage connection problems isn't excluded. In order to reboot your iPhone or iPad, just hold down the Home button and Power button simultaneously and don't let go until you see the Apple logo.

Try and send an iMessage once your iPhone or iPad finishes rebooting. If it sends and all is well, you can stop right here. If it doesn't, continue on to step 3.

4. Toggle iMessage off and back on, on every device

Sometimes iMessage hiccups can be caused by an error connecting to Apple's servers, or due to syncing issues between devices. This is most likely the issue if you find that some of your devices receive messages just fine while others don't. It's important that you turn iMessage off on all devices that are tied to your Apple ID before enabling it again on any of them. Be sure you don't forget any Macs that may be linked to your iMessage account, as those are easier to overlook.

Once you've disabled iMessage on all your devices, give it a few minutes before you flip the switches back on. If you aren't sure on how to turn iMessage off an on, you can follow our guide.

5. Make sure your date and time settings are correct

If your date and time settings are incorrect, iMessage will experience all kinds of weird issues from not sending messages to not being able to activate at all. If you've recently traveled between time zones or you were messing with your date and time settings for another reason, such as to speed up time in a game, be sure you set them back once you're done.

  1. Launch the Settings app on your iPhone or iPad.
  2. Tap on General.
  3. Tap on Date & Time.
  4. Verify the time is correct. If it isn't, change it.

6. Reset network settings on your iPhone or iPad

If nothing else seems to be working, resetting your network settings is always worth a try. Keep in mind this will clear any Wi-Fi networks you have joined as well as any VPN settings. You'll have to re-enter them all again. However, if you've tried everything else and still can't seem to get iMessage to work, you may need to. This is especially the case if you're only experiencing issues on a single device but all others are functioning properly.

7. Contact Apple

It's possible that the issue you're experiencing hasn't been reported yet. Whether it's a system outage or something else, Apple should be able to further troubleshoot the issue for you. On the same system status page we linked in step 2, you can click the link labeled Contact Support in order to submit a support ticket.

Your tips for fixing iMessage issues?

If you've had issues with iMessage in the past, have you figured out any other tricks that aren't listed here? Be sure to leave them in the comments!

See also:


Personal iMessages going to a shared iPad? Here's how to fix it!

$
0
0

How to stop your personal iMessages from going to a shared iPad

Shared iPads are commonplace in many households. While the kids use it to play games, the adults may use it to store recipes, check sports scores, and more. Depending on whose Apple ID was used to set up the iPad initially, you may find that someone's iMessages are showing up on the shared iPad, which may not be desirable for many. Depending on your particular situation, there are a few ways to solve this problem. So you can choose what's best for you and your family, we'll walk you through each one!

Option 1: Deactivate iMessage on the iPad

The easiest solution to stopping private iMessages from showing up on a shared iPad is to completely deactivate iMessage. This means messages will stop altogether and none of the addresses you use for iMessage will be able to be used. The down side to this is that you won't be able to send messages at all from the shared iPad. If that's okay with you, complete the steps below and you're done. If you'd rather be able to send messages, just not intertwine them with someone else's personal account, continue on for more options.

  1. Launch the Settings app on the shared iPad.
  2. Tap on Messages.
  3. Turn Off iMessage.

Option 2: Exclude your phone number from iMessage

If you want to be able to send and receive iMessages on the iPad, you can always choose to exclude messages that are specifically sent to someone's phone number, presumably their iPhone. You'll need to complete two steps in order to do this, and also consider that if someone sends that person an iMessage to their email, it will show up on the shared iPad too. This is something you can't currently stop from happening. But you can help prevent it with the following steps:

  1. Launch the Settings app on the shared iPad.
  2. Tap on Messages.
  3. Tap on Send & Receive.
  4. Uncheck the person's phone number under the first section.
  5. Now be sure that under the Start New Conversations From section, one of the email addresses listed are selected, not the phone number associated with that Apple ID.
  6. Launch the Settings app on that particular person's iPhone now.
  7. Tap on Messages.
  8. Tap on Send & Receive.
  9. Make sure only the phone number is selected in both sections.

While the above method isn't completely foolproof, it should result in you only creating and receiving iMessages associated with your actual phone number. It should work for most folks but for those who want an even more foolproof method, check out option 3.

Option 3: Add an email alias for iMessage use

If you want to be sure that the shared iPad only receives messages that are specifically intended for it, you can always add an email alias to your existing Apple ID that you'll only use specifically for the shared iPad. This is a good option if you want to be able to send messages inside your family and don't mind using someone's existing ID to make that possible without too much effort.

In order to add another email to your Apple ID, you can follow our guide on adding additional email addresses.

Just like other methods, if someone outside your family knows that particular email, it won't keep them from sending messages to it. If you want a completely foolproof way to be able to send messages on the shared iPad without invading anyone's privacy, continue on to option 4.

4. Create a new Apple ID

The only way to be sure that no one's privacy is invaded on a shared iPad is to create an Apple ID just for that iPad that everyone has access to. Only share that Apple ID with the people that you want to be able to send messages with from the shared iPad. It's also a good idea to make sure that they know it's on a shared device.

There are also other benefits of creating an Apple ID for use on a shared device. One of the biggest ones is that if you use iCloud to back up your shared iPad, you won't be eating into anyone's storage plan and the iPad will get its own. For some folks, that may be reason enough to create a new Apple ID.

How do you message on a shared iPad?

If you have a shared iPad in your home, how do you handle iMessage? Do you use any of the solutions outlined above or something else? Be sure to let me know in the comments!

How to block and report iMessage spam to Apple

$
0
0

How to block and report iMessage spam to Apple

There's reportedly been a recent increase in iMessage spam. Since iMessage works like carrier SMS/MMS, and not like social networks where you have to request/accept contacts, anyone with your phone number or email address can send to you. Since there's a desktop iMessage for Mac, it's more convenient than SMS/MMS to send as well. And, well, some human beings simply suck. Fortunately, you can block any number or address that sends you spam, and you can report their iMessages straight to Apple. It takes a few steps, but rage makes them easy to get through!

How to block and report spam from iMessage

  1. Launch the Messages app from your iPhone, iPad, or Mac.
  2. Tap the spam iMessage to open it.
  3. Take a screenshot of the spam iMessage.
  4. Tap the Contact button in the upper right hand corner of the message.
  5. Tap on the Info button.
  6. Tap and hold on the number or address of the sender.
  7. Tap on Copy in the popup menu.
  8. Tap Block this Caller at the bottom.
  9. Tap Block Contact in the popup menu to confirm.
  10. Click the Home button to return to the Home screen.
  11. Launch the Photos app and open the screenshot of the spam message you took in step 3.
  12. Tap the Share button in the bottom left corner.
  13. Tap Mail in the share sheet.
  14. Tap and hold inside the body of the email, just above the photo, to bring up the popup menu.
  15. Tap Paste to paste in the spam number or email address. 16: Type in the day and time you received the spam iMessage (e.g. January 1, 2014, 3:15pm).
  16. Tap inside the To field at the top.
  17. Type in imessage.spam@icloud.com
  18. Tap Send.

That's all there is to it! Your spam message has been reported to Apple. Simply repeat this process for any spam messages you receive!

How to quickly share photos in the iOS 8 Messages app

$
0
0

How to quickly share photos in the iOS 8 Messages app

Photos are one of the things we share most often from our iPhones or iPads. With iOS 8, you can send photos you've already taken in even less taps since sharing has gotten even smarter. Your iPhone and iPad can now access your recently taken photos so you can quickly view and pick out the ones you want to send in a snap!

How to share photos faster than ever with Messages for iPhone and iPad

  1. Launch the Messages app on your iPhone or iPad running iOS 8 or higher.
  2. Tap on the message thread you'd like to send a photo in.
  3. Tap on the Share button in the lower left hand corner.
  4. Scroll sideways through the recent photos pane and tap on the photos you'd like to send to select them.
  5. When you're finished selecting photos, tap on Send 3 Photos— this message dynamically changes to represent the amount of photos you've selected.

That's it! While this isn't a huge change over previous versions of iOS, it cuts out a few steps since you can view recent photos instantly without having to bring up photos list.

How to quickly send voice messages with the Messages app in iOS 8

$
0
0

iOS 8 adds some cool features to the Messages app on your iPhone and iPad. One of them is the ability to send voice clips instead of typing out a long message. The person on the receiving end receives a voice clip that they can easily listen to. And if they're running iOS 8 too, they can shoot a voice message right back!

How to send a voice message with the Messages app in iOS 8

  1. Launch the Messages app on your iPhone or iPad running iOS 8 or higher.
  2. To the right of the text entry field, tap and hold on the microphone icon.
  3. Say what you'd like. When you're done swipe upwards.
  4. Your message will instantly be sent.

If you mess up while recording, swipe your finger to the left in step 3 instead of upwards in order to cancel the voice message. Just tap and hold again to start the recording over.

Alternately, if you're inside a messages thread, just raise your iPhone to your face while in the text thread. Once you hear a beeping tone, start speaking. When you're done just remove your iPhone from your face. Your message will instantly be sent to the person on the opposite end.

How to set messages to automatically delete themselves in iOS 8

$
0
0

How to set messages to automatically delete themselves in iOS 8

One of the largest culprits when it comes to chewing through the storage on your iPhone or iPad is the Messages app. From regular text messages to iMessages to photos, videos, and audio notes, they all take up space. In some cases, several gigabytes. However, iOS 8 brings with it an awesome feature that lets you set messages to delete automatically after a set amount of time. That means more storage space freed up regularly without you actually having to think about it!

How to set messages to delete after a period of time on iPhone and iPad

  1. Launch the Settings app on your iPhone or iPad running iOS 8 or higher.
  2. Tap on Messages.
  3. Tap on Keep Messages under the Message History section.
  4. Tap on either 1 year or 30 days, whichever you'd like.
  5. Tap Delete in the popup menu to confirm you'd like iOS to delete any messages older than the specified time period. You can not undo this action.

That's it! iOS will now automatically delete all messages that are older than the specified time. For anyone who has a 16GB device, give this a try and see if it helps you keep your storage more under control when it comes to Messages.

How to save space on your iPhone by setting video messages to expire in iOS 8

$
0
0

How to save space on your iPhone by setting video messages to expire in iOS 8

iOS 8 adds some storage friendly features that allow you to make sure the Messages app isn't wreaking as much havoc as it previously could. One of the ways iOS now helps you conserve storage is by letting you set video messages to automatically expire after a period of time. As we all know, video can be a huge storage hog and keeping tons of video messages in text threads can quickly eat through gigabytes of space before you know it. Here's how you can prevent it from ever happening again:

Save storage space on your iPhone or iPad by setting video messages to automatically expire

  1. Launch the Settings app on your iPhone or iPad running iOS 8 or higher.
  2. Tap on Messages.
  3. Tap on Expire under the Video Messages section.
  4. Tap on After 2 Minutes.

That's all there is to it. Keep in mind however that these settings will only apply to new video messages that are sent to you. Any videos you've already received will not be deleted unless you delete them manually.

Let me know if this tip combined with some of the other custom options Apple now offers to make the Messages app more conscious of storage space have helped you mitigate how much space it takes up overall.

How to edit expiration settings for audio messages in iOS 8

$
0
0

How to edit expiration settings for audio messages in iOS 8

Audio messages, introduced in iOS 8, allow you to send short voice clips via iMessage. They're incredibly easy to use and receive which should make them a popular option when folks are unable to text. However, they can take up far more storage space than regular text-based messages. That's why you're able to edit automatic expiration settings for audio messages to suit your needs.

How to change expiration settings for audio messages on iPhone and iPad

  1. Launch the Settings app on your iPhone or iPad running iOS 8 or higher.
  2. Tap on Messages.
  3. Tap on Expire under the Audio Messages section.
  4. Choose either Never or After 2 Minutes.

That's it! If you frequently find yourself scrounging for storage space on your iPhone or iPad, it's probably a good idea to set them to expire after 2 minutes. Don't worry, that means 2 minutes after you listen to them, not 2 minutes after you receive them.

It'd be nice if Apple would add an in-between option but until then, you'll need to make a choice. So for now, what are you selecting? Let me know in the comments!


How to quickly reply to an iMessage using interactive notifications in iOS 8

$
0
0

How to use quick reply messaging in iOS 8

Many of us have wanted a quick reply messaging option to come stock in iOS for years. And finally, after years of begging, Apple has granted our wish with iOS 8 via interactive notifications. If you receive a message while you're using your iPhone or iPad, you can now respond without ever even entering the Messages app. Here's how!

How to quickly respond to a message while using your iPhone or iPad

  1. When you receive a message notification on your iPhone or iPad, pull down on it.
  2. Type in your message and tap send.

That's it! Your message will be sent on its way and you are back to doing whatever you were before the message was received.

How to use quick reply messaging from the Lock screen of your iPhone or iPad

You can also use quick reply right from the lock screen. Unlocking your iPhone or iPad by swiping right on a message launches the messages app. If you'd prefer to answer right from your Lock screen instead, the process is a little different:

  1. When you receive a message notification on your Lock screen, slide your finger over it to the left to reveal options.
  2. Tap on Reply in order to invoke quick reply.
  3. Type out your message and tap Send.

That's it! Alternately, tapping on the x next to Reply on the Lock screen will instantly mark the message as read. That means there will be no badge on the Messages app when you unlock your iPhone or iPad, and that the person on the other side will see a read receipt, if you have them enabled.

How to quickly delete images in the iOS 8 Messages app

$
0
0

How to quickly delete images in the iOS 8 Messages app

Prior to iOS 8, deleting images in individual message threads was tricky business. There wasn't an easy way to view all of them at once which made deleting more than one at a time a pretty tough task. Luckily, the details view in iOS 8 changes all of that and makes it super simple to delete lots of images and attachments at once, an incredibly useful trick if you need to free up some storage space in a hurry!

How to delete multiple images at once in the iOS 8 Messages app

  1. Launch the Messages app on your iPhone or iPad running iOS 8 or higher.
  2. Tap on the thread you'd like to clear images from in order to open it.
  3. Tap on Details at the top right.
  4. Press and hold on one of the images you'd like to delete under the Attachments section.
  5. Tap on More in the popup menu.
  6. Select all the images and attachments you'd like to delete.
  7. Tap on the Delete button in the bottom right when you've got them all selected.
  8. Tap on Delete Messages in the popup menu to confirm the delete.

That's all there is to it! The images you chose to delete will no longer be saved in the Messages app, eating up space. You may have noticed that when you highlight multiple images, you also get an option to the left of the trash can to save them. This is a great way to save multiple images at once in a messages thread, so keep that in mind as well!

Now give it a try and let me know how it works for you!

How to quickly mute message threads with iOS 8

$
0
0

Ever been stuck in a group message where the notifications just never seem to stop? We've all been there and wished that there was a way we could quiet them without having to silence everything else. Now thanks to iOS 8 you can mute message threads, group or individual, without bringing your other notifications to a grinding halt!

How to mute individual message threads on iPhone and iPad

  1. Launch the Messages app on your iPhone or iPad running iOS 8 or higher.
  2. Tap on the message thread you'd like to mute — it can be a group message or a conversation with only one other person.
  3. Tap on the Details button in the upper right hand corner.
  4. Turn the Do Not Disturb toggle to the On position.
  5. You should now see a half moon icon next to threads that you've silenced.

That's all there is to it. You should not receive any further notifications for that specific message thread. Unlike the leaving groups feature, the Do Not Disturb feature appears to work regardless of whether or not they are sending regular text messages or iMessages. So give it a try and let me know how it works for you! Does it bring any sanity back to the world of message notifications?

How to quickly leave group messages in iMessage for iOS 8

$
0
0

How to quickly leave group messages in iMessage for iOS 8

Ever been looped into what seems to be a never-ending group message with friends or family? All of us have been there and have desperately wished there was a way to stop the notification madness, especially when nothing being said even pertains to you. Luckily, iOS 8 lets you quickly and easily leave a group iMessage altogether.

How to leave a group iMessage thread on iPhone and iPad

  1. Launch the Messages app on your iPhone or iPad running iOS 8 or higher.
  2. Tap on the thread you'd like to leave in order to open it.
  3. Tap on Details in the top right.
  4. Tap on Leave this Conversation— you'll need to scroll down a ways.

Remember that you can only leave group messages if all participants are using iMessage and running iOS 8 or higher. Since Apple doesn't have access to block or remove you from carrier messages, iMessage threads are the only thing they can remove you from on their end. The Leave This Conversation option will be grayed out like you see above if someone in the thread is running an older version of iOS. If the bubbles are green, you won't be able to remove yourself since those are regular text messages.

However, since most folks with iPhones are using iMessage these days, the feature should be widely available to many people if you and your friends are all using iPhones. So next time you get looped into a never-ending iMessage group thread, give this a try and let us know how it works!

How to use iMessage: The ultimate guide

$
0
0

How to use iMessage: The ultimate guide

iMessage is the name of Apple's proprietary instant messaging (IM) service that lets you send and receive free text, photo, video, and audio messages from your iPhone, iPad, iPod touch, or Mac to any iPhone, iPad, iPod touch, or Mac. Not only does iMessage let you send free simple messaging service (SMS)-style and multimedia messaging service (MMS)-style messages, but also create and manage group messages, share location instantly, temporarily, or persistently, and more. Here's everything you need to know about iMessage!

How to set up, configure, and secure iMessage

How to set up, configure, and secure iMessage

iMessage is super easy to start using right out of the box but you'll need to configure a few things first. Whether you're on an iPhone, iPad, iPod touch, or Mac you'll only have a few steps to complete before you'll be sending all kinds of content via iMessage. The process may be slightly different depending on what device you're setting up so make sure to check out our guides on getting it configured.

How to turn on read receipts in iMessage

How to send Voice Memos with iMessage

Read receipts allow your contact to see whether or not you've viewed a message yet. While some people may consider read receipts to be a bit stalker-ish, others may find them useful for work and business situations.

How to quickly reply to an iMessage using interactive notifications

How to use quickly reply messaging in iMessage

Ever get an iMessage or text from someone while you're in the middle of doing something? We all have and we've all faced the dilemma of pausing our game or interrupting another activity in order to hop into the Messages app to respond. Luckily, if you're running iOS 8 or higher, you can respond to a message without having to close out of what you're doing.

How to mute individual conversation threads with iMessage

How to mute individual iMessage threads

There are times when we need to receive some notifications but not others. Perhaps you're waiting for an important text from your boss but don't really feel like receiving notifications from others at that moment, or a certain person just won't stop messaging you. Since Do Not Disturb extends to message threads as well, you can do just that. Simply silence the threads you don't want notifications for and the others will continue to alert you like they normally would.

How to leave a group message with iMessage

How to leave group messages with iMessage

Sometimes muting a message thread just isn't enough. Ever been stuck in an annoying group message you just can't seem to get out of? We've all been there and wished that just deleting the thread would make the madness stop. Luckily, if you and everyone in the thread are running iOS 8 or higher, you can now leave a group message at your own discretion.

How to send photos using iMessage

How to send photos using iMessage

More often than not, your iPhone is always on you which means you probably use it to capture a lot of moments. You'll most likely want to share them with friends and family. iMessage makes it super simple to do so and you can use it on any iPhone, iPad, iPod touch, or Mac. If the other person isn't using iMessage, they'll just receive a standard SMS (messaging rates will apply). Whether you want to share pictures from your iPhone or from iPhoto on your Mac, we can help you start sharing your images in no time.

How to quickly delete multiple images at once with iMessage

How to quickly delete images and attachments in iMessage

iMessage is a great way to share photos and videos quickly with others. Unfortunately that also means it can be a huge storage hog if you let it. So if you have threads with certain people that you know you share lots of files with, it's a good idea to go through occasionally and clean them out. Luckily, it's a pretty easy task if you use the attachments section of an iMessage thread.

How to send videos using iMessage

How to send videos using iMessage

iMessage works with other iOS devices and Macs to let you easily send all kinds of content without paying your carrier for a special messaging plan (data rates will still apply if you aren't on Wi-Fi), including any videos you've recorded on your iPhone, iPad, iPod touch, or Mac. iMessage is built right into the same Messages app and Share Sheet that sends SMS and MMS to your non-iPhone using friends, so you don't have to do anything extra to use it either.

How to send photo and video selfies with iMessage

How to quickly send a photo or video selfie with iMessage

Sending a selfie photo or video from your iPhone or iPad is literally just a swish and a flick away if you're running iOS 8 or higher. Just hold down on the camera icon and flick your photo or video away when you're done. You can even use the same mode to quickly take photos and videos using the rear facing camera too!

How to send voice messages with iMessage

How to send a voice message with iMessage

Sometimes we can't always type a response to an iMessage when we need to. But if you absolutely have to respond, you could always send a voice message in its place. Not only is it easy, it takes half the time that typing out a long text string would take. And the person on the other side can just raise their iPhone to their face in order to listen, it's that easy!

How to quickly share your location using iMessage

How to share your location with iMessage and iOS 8

Since iMessage is one of the easiest ways to communicate from your iPhone or iPad, it makes sense to use it for location data. As of iOS 8, you can share your location with any iMessage contact or group for a specific period of time, or indefinitely. That way people can easily get directions to your location and even send you directions on how to get somewhere, without ever even needed your actual address.

How to send contact cards using iMessage

How to send contact cards using iMessage

iMessage, and even traditional SMS makes it super simply to quickly send contact information from your iPhone, iPad, or iPod touch. As long as you have the information listed in your iOS Contacts app, you're always only a few taps away from sharing a vCard file (vcf) containing phone numbers, email, street addresses, and much more.

How to send map locations using iMessage

How to send map locations using iMessage

You can quickly share your location with friends, family, and colleagues using iMessage. Whether you're lost or need someone to give you directions, or you're waiting and want to help someone find you, iMessage is as simple as hitting the share button and sending. The person on the other end will be sent your location instantly.

How to send Voice Memos with iMessage

How to send Voice Memos with iMessage

The iPhone and iPod touch have a built-in Voice Memo app that can be handy for recording lengthy thoughts or instructions. Whether you need to dictate instructions to someone or want to share lecture notes from a class, iMessage makes it easy. Once they receive it they'll be able to play it directly through the Messages app.

How to report iMessage spam to Apple

How to report iMessages spam to Apple

If you receive and unwanted iMessage, you can report them to Apple by sending a screenshot of the message, the sender's email address or phone number, and the date and time that the message was received. It's a great way to take back control of your communications!

How to block iMessage on the iPhone or iPad

How to block phone calls, FaceTime calls, and Messages from someone in iOS 7

If you're getting harassed, spammed, stalked, or otherwise subjected to unwanted iMessages, you can block the person and preventing them from contacting you again. It's like an infinite iPhone or iPad time out for jerks. And best of all, it's easy to do.

How to block iMessages on the Mac

How to block a contact through iMessage and FaceTime in OS X

If you're being stalked, spammed, pranked, or otherwise abused over iMessage, you can block that contact and prevent them from bothering you ever again, even on your Mac. It's simple, it's easy, and it's oh-so-gratifying. If there's an especially annoying someone you've been waiting to ignore, here's how to do it!

How to turn off iMessage if you stop using your iPhone

How to deactivate iMessage before switching to BlackBerry, Android, or Windows Phone

If, for whatever reason, you stop using your iPhone and are forced to use a regular cellphone, Windows Phone, BlackBerry, or Android phone, there are some steps you need to take to make sure the iPhone friends you leave behind can still reach you. iMessage works by routing iPhone-to-iPhone messages through Apple's servers instead of sending them as actual text messages. Unfortunately, unless you tell it to stop doing this, iMessage has no way of knowing you've left, at least until it times out after a couple weeks, and that's beyond frustrating. Luckily, deactivating it is easy. Here's how!

How to get more help with iMessage

If you need more help setting up, using, or trouble-shooting iMessage on iPhone, iPod touch, iPad, or Mac, head on over to our iMessage forum and ask away!

How to quickly send photo and video selfies in iOS 8

$
0
0

iOS 8 has made it easier than ever to send both photo and video selfies with the help of the Messages app. Literally, a swish and a flick and your message is on its way to the recipient!

How to send selfies and videos faster than ever with iOS 8

  1. Launch the Messages app on your iPhone or iPad running iOS 8 or higher.
  2. Tap on the text thread you'd like to send a selfie or video to.
  3. Tap and hold on the camera icon that's located to the left of the text entry field.
  4. Slide your finger up to take a photo and send it on its way.
  5. Slide your finger to the right to start taking a video. When you're done, release your finger and it'll be on it way.
  6. Alternately, you can lift your finger up and tap the flip camera icon in the top right to take a photo or video of something other than yourself.

If you don't want to send the recorded video or want to cancel sending a photo, lift your finger up without sliding up or down. Then simply tap the x in order to cancel. As always, you can short tap on the camera icon in order to attached an existing photo or video.

How to quickly share your location in iMessage for iOS 8

$
0
0

How to quickly share your location in iMessage for iOS 8

Sometimes we have the need to share our current location with someone, or in the case of younger children, you may want to always know where they are. Up until iOS 8 the only way to share a location was through the Maps app, which didn't give you constant location information, only current. Now you can now share specific location information as well as continuous location data with anyone else who is also using iMessage.

How to share your location one time via iMessage in iOS 8

  1. Launch the Messages app on your iPhone or iPad running iOS 8 or higher.
  2. Tap on the message thread that you'd like to share your location in — it can be with an individual person or with a group, as long as everyone in it is using iMessage.
  3. Tap on Details in the upper right hand corner.
  4. Tap on Send My Current Location.
  5. Your iPhone or iPad will instantly locate you and share your location.

That's all there is to it. The person on the other end can then tap on the location in order to view it and even get directions.

How to share your location for a period of time via iMessage in iOS 8

  1. Launch the Messages app on your iPhone or iPad running iOS 8 or higher.
  2. Tap on the message thread that you'd like to share your location in — it can be with an individual person or with a group, as long as everyone in it is using iMessage.
  3. Tap on Details in the upper right hand corner.
  4. Tap on Share My Location.
  5. Make your selection concerning how long you'd like to share your location.

That's it. The other person will be able to see your location for the time you've specified. If you ever decide you want to stop sharing your location with them, just follow the same direction and tap where it says Stop Sharing My Location.

Let me know in the comments if this is a feature you see yourself using often. If so, what types of situations do you plan on using it for?


How to remove your phone number from iMessage if you switch to Android

$
0
0

How to deregister your phone number from iMessage

If you've switched from iPhone to something else, like Android, and aren't receiving text messages, it could be that your phone number is still registered with iMessage. If that's the case, Apple has an online tool you can use to deregister with iMessage and get your SMS/MMS working properly with your new phone.

How to de-activate iMessage online

  1. Go to http://selfsolve.apple.com/deregister-imessage from any web browser.
  2. Scroll down to the second section labeled No longer have your iPhone?.
  3. Enter the phone number you'd like to de-activate from iMessage and click Send Code.
  4. Check your current phone for a text message and enter the code that you're sent.
  5. Wait for confirmation that iMessage has been de-activated.

How to deregister your phone number from iMessageHow to deregister your phone number from iMessage

How to re-active iMessage when you come back to iPhone

If and when you later switch back to the iPhone, all you have to do is turn iMessage back on in Settings.

Secret iMessage shortcuts: Twelve gestures to speed up your iPhone chat!

$
0
0

Secret iMessage shortcuts: Twelve gestures to speed up your iPhone chat!

Because you can never be too quick on the chat.

Messages is the most popular app on iPhone because it's what keeps you in touch with everyone else who has an iPhone. And iPad, and Mac, and any other kind of phone. Thanks to all the gestures and shortcuts Apple's built into Messages, it also keeps you in that contact quicker than ever. Not all of them are obvious, but all of them are useful — once you figure them out!

Originally published February 2015. Updated February 2016.

Pull to search

Just like on the Home screen where you can touch and pull down to access Spotlight search, you can touch and pull down from any mailbox to bring up search for mail. Start typing and Mail will show you any messages that match.

Swipe back

Another system-wide gesture, any time you're in a message or mailbox, you can swipe to go back to the mailbox the message is in, or the account the mailbox in in. It's especially handy for those with bigger phones.

Timestamps

Time stamps — exactly when a message arrived — aren't shown inline. If you want to see them, you can swipe from the right edge of the screen to the left and you'll see them listed.

Hold to copy

Touch and hold to copy

You can't select text in a message the way you can in other parts of iOS. If you want to copy any part of a message, you have to copy the whole message. To do that, touch and hold down on it and then choose Copy from the popup menu.

Multi-trash or forward

Touch and hold to get trash and other options

There's no Edit button in Messages but there's still a multi-select mode. Touch and hold down on a message and then choose More from the popup menu. Choose the messages you want, then choose Trash or Forward to delete or share.

Save images

Touch and hold to save images and videos

Whether it's a priceless family photo, a magic moment, or an infuriating animated GIF, it's easy to keep pictures and videos you get to you camera roll. Just touch and hold the thumbnail and then choose Save from the popup menu.

All attachments

Swipe through attachments

Messages shows you thumbails for every photo or video you receive. Tap on a thumbnail and it goes fullscreen. Swipe, and you can browse through all the photos and videos in the conversation, just like albums in the Photos app.

Insta-selfies

Touch and hold the camera to send a still or video selfie

To quickly send a selfie or video message, touch and hold the Camera icon. Then swipe up to take a photo or right to take a video.

Soundbites

Touch and hold the mic to send a sound bit

To quickly send an audio message, touch and hold the Microphone icon. When you're done talking, swipe up to send or left to trash.

Delete conversations

Swipe to delete a coveration

If you want to trash an entire conversation, swipe from right to left on the list item and then tap Delete to get rid of it. You can still send and receive new messages, but the old ones will be gone.

Hide keyboard

Swipe down to hide the keyboard

Sometimes, where you're responding to a message, you want to see more of it. Maybe you forgot the exact question you're trying to answer, or you want to refer to something specific. No matter the reason, all you have to do is touch the message above the keyboard and swipe down to hide it.

Read without "Read"

3D Touch on a message to read it without marking it as read

If you have one of the iPhones 6s with 3D Touch, you can use the peek feature to preview a message without tripping the "read" state. Simply press on a message in the list view hard enough to see the full conversation but not so hard that you pop into it. Then you know what they said, but they don't know that you know. You know?

Contact quickly

3D Touch on a profile pic to get contact details

Also on the iPhones 6s with 3D Touch, you can use the peek feature to quickly pull up email, FaceTime, and phone options for any contact. Just press firmly on the contact's profile picture, then tap whichever option you want, including the profile picture to go straight to the detail view for location, attachments, and more.

More secrets

If you just can't get enough of this stuff, and want to learn more of the secrets to iPhone mastery, check out our other shortcut guides. And if we missed any of your favorite Messages tips, add them to the comments below!

iMessage in iOS 10: Everything you need to know!

$
0
0

iMessage in iOS 10: Everything you need to know!

How Apple is taking effects, emoji, digital touch, stickers, and apps to the next level in iMessage for iOS 10!

iMessage is the most popular app on iPhone. That's why Apple is bringing significant updates to it in iOS 10, including bubble and screen effects, emoji tapbacks and full-on emojification, Digital Touch and handwriting, and, for the first time, iMessage apps.

Apple's 2016 software updates — iOS 10, watchOS 3, tvOS 10, and macOS Sierra— are currently available as closed developer previews and as public betas for iPhone, iPad, and Mac. While the betas contain new features, they also contain pre-release bugs that can prevent the normal use of your iPhone, iPad, Apple Watch, Apple TV, or Mac, and are not intended for everyday use on a primary device. That's why we strongly recommend staying away from the developer previews, and using the public betas with caution. If you depend on your devices, wait for the final release this fall.

How bubble and screen effects work in iMessage for iOS 10

Messages in iOS 10 has new effects for iPhone or iPad that make bubbles slam, loud, gentle, or invisible, or turn the whole screen to balloons, confetti, lasers, fireworks, or shooting stars. If you're on the developer preview and want to test them out, here's how!

How emoji and Tapbacks work in iMessage for iOS 10

Messages in iOS 10 also takes emoji to the next level. If that doesn't sound important to you, then you haven't seen the kind of cheers emoji get on stage or the amount of interest they generate on social. They're a big, smiley, thumbs-up deal! If you're on the developer preview and want to test them out, here's how!

How Digital Touch and handwriting work in iMessage for iOS 10

How to send Digital Touch and handwriting in iMessage for iOS 10

Digital Touch — the ability to send a hand-drawn Sketch, haptic Taps, or sensor-read Heartbeats — was one of the debut features of the Apple Watch. Now, with iOS 10, all those communication features are making their way to the iPhone and iPad as well. Will Digital Touch on the phone and tablet come off as a gimmick, or will it go mainstream? If you're a developer, you can try it out now and decide for yourself.

How stickers and apps work in iMessage for iOS 10

Apple has opened up iMessage to the App Store. Designers can now create sticker packs that you can post send, modify, and stamp on top of other messages. And developers can create apps that let you share content, edit photos, play games, send payments, and collaborate with others, right inside Messages. It's great for users, who get much richer functionality, and for developers, who get a chance to become as viral as the next hot meme. If you're on the developer preview and want to test them out, here's how!

How to use bubble and screen effects in iMessage for iOS 10

$
0
0

How do you make the bubbles slam or turn invisible, or the screen turn to lasers or fireworks? With the new iMessage effects in iOS 10!

Messages has gotten a makeover in iOS 10 and it focuses on bringing the fun. That includes new effects for iPhone or iPad that make bubbles slam, loud, gentle, or invisible, or turn the whole screen to balloons, confetti, lasers, fireworks, or shooting stars. If you're on the developer preview or public beta and want to test them out, here's how!

Apple's 2016 software updates — iOS 10, watchOS 3, tvOS 10, and macOS Sierra— are currently available as closed developer previews and as public betas for iPhone, iPad, and Mac. While the betas contain new features, they also contain pre-release bugs that can prevent the normal use of your iPhone, iPad, Apple Watch, Apple TV, or Mac, and are not intended for everyday use on a primary device. That's why we strongly recommend staying away from the developer previews, and using the public betas with caution. If you depend on your devices, wait for the final release this fall.

How do I add iOS 10 bubble effects to my iMessages?

If you're running iOS 10, you can send a bubble effect on your iPhone or iPad from the Messages app or from the new interactive notifications, even from the lock screen.

  1. Enter the message you want to send.
  2. Press firmly (3D Touch) or long press (no 3D Touch) on the Send button (looks like an upward pointing arrow).
  3. Select the Bubble tab at the top, if it's not already selected.
  4. Tap on the effect you want to apply: Slam, Loud, Gentle, or Invisible Ink.
  5. Tap in the Send button to the right of the effect you chose (looks like an upward pointing arrow).

How do I cancel an iOS 10 bubble effect in iMessage?

If you change your mind about sending a bubble effect, tap the Cancel button at the bottom of the effects list (looks like an X).

What do iOS 10 bubble effects do in iMessage?

In the current developer preview of iOS 10, here's what the bubble effects do:

  • Slam: Stamps the bubble down and makes the entire screen ripple
  • Loud: Sends a giant bubble that shakes before settling down into place.
  • Gentle: Sends a tiny bubble that meekly slips into place.
  • Invisible ink: Covers the bubble in animated noise and blur until you swipe it out of the way.

Will the iOS 10 bubble effects I send show up in Messages on the Mac?

The Mac can receive the Invisible Ink bubble effect if you're running macOS Sierra.

How do I add iOS 10 screen effects to my iMessages?

If you're running iOS 10, you can also send a screen effect from the Messages app or from the new interactive notifications, even from the lock screen.

  1. Enter the message you want to send.
  2. Press firmly (3D Touch) or long press (no 3D Touch) on the Send button (looks like an upward pointing arrow).
  3. Select the Screen tab at the top, if it's not already selected.
  4. Swipe from right to left to switch between the effects you want to apply: balloons, confetti, lasers, fireworks, or shooting stars
  5. Tap in the Send button to the right of your message (looks like an upward pointing arrow).

How do I cancel an iOS 10 screen effect in iMessage?

If you change your mind about sending a screen effect, tap the Cancel button at the bottom below your message (looks like an X).

What do iOS 10 screen effects do in iMessage?

In the current developer preview of iOS 10, here's what the screen effects do:

  • Balloons: Sends multi-color balloons expanding and flying up from the bottom right of the screen.
  • Confetti: Drops multi-color confetti from the top of the screen.
  • Lasers: Fills the screen with "unce, unce, unce" lasers and sound.
  • Fireworks: Sets off multi-color fireworks from the center of the screen.
  • Shooting stars: Launches a "the more you know" starburst shooting from the left of the screen, exploding as it reaches the right.

Will the iOS 10 screen effects I send show up in Messages on the Mac?

Not currently, no.

How to use emoji and Tapbacks in iMessage for iOS 10

$
0
0

How do you get 3x emoji, emoji recommendations, emoji reactions, and emojifications? With the new iMessage effects in iOS 10!

Messages in iOS 10 takes emoji to the next level. If that doesn't sound important to you, then you haven't seen the kind of cheers emoji get on stage or the amount of interest they generate on social. They're a big, smiley, thumbs-up deal! If you're on the developer preview or public beta and want to test them out, here's how!

Apple's 2016 software updates — iOS 10, watchOS 3, tvOS 10, and macOS Sierra— are currently available as closed developer previews and as public betas for iPhone, iPad, and Mac. While the betas contain new features, they also contain pre-release bugs that can prevent the normal use of your iPhone, iPad, Apple Watch, Apple TV, or Mac, and are not intended for everyday use on a primary device. That's why we strongly recommend staying away from the developer previews, and using the public betas with caution. If you depend on your devices, wait for the final release this fall.

How do you get the 3x bigger emoji in iMessage?

Bigger emoji are better emoji. They let you see all the details and convey all the emotions. If you're running iOS 10, iMessage can now show you emoji at three times the normal size. But only under certain circumstances.

  1. Enter one to three emoji in the iMessage text field.
  2. Tap the Send button. (Looks like an upward arrow)

If you enter more than three emoji, they'll default back to 1x size. If you enter emoji and any other text, they'll default back to 1x size. So, if you really want 3x emoji, you can only send emoji, and you can only send one to three of them in a single iMessage.

How do you get emoji recommendations in iMessage?

If you're running iOS 10, Apple's predictive QuickType keyboard can suggest emoji as well as, you know, regular words. The predictive keyboard has to be turned on in Settings, and can't be hidden.

  1. Start typing in the iMessage text field.
  2. Tap any emoji predictions that show up in the prediction bar. If multiple predictions show up, tap the one you prefer.
  3. Tap the Send button. (Looks like an upward arrow)

Emoji predictions will show up whenever you type something that has a corresponding emoji. For example, "I'm happy" will predict "I'm [smiley face]". "My car" will suggest the "[car]" emoji.

How do you emojify an iMessage?

With iOS 10, "emojification" works similarly to emoji recommendations.

  1. Type an iMessage text field.
  2. Tap the Emoji button on the keyboard.
  3. Tap on a word that's underlined in yellow to replace it with its corresponding emoji.
  4. Keep tapping words underlined in yellow until you've "emojified" everything you want.
  5. Tap the Send button. (Looks like an upward arrow)

With emojification, you can convert as many — or as few — words to emoji as you like.

How do you react with an emoji Tapback in iMessage?

Emoji aren't just for replying in iOS 10, they're also for reacting. Apple calls them Tapbacks. They're similar to Slack or Facebook emoji reactions, and drop right onto any iMessage bubble sent your way.

  1. Touch and hold (long press) on an iMessage sent your way.
  2. Tap the Tapback you want to send: Heart, thumbs up, thumbs down, Ha ha, !!, or ?.

There's no need to hit send, the emoji reaction goes immediately.

What do the new Tapback emoji reactions mean?

Currently, in the iOS 10 beta, the following Tapback emoji are available:

  • Heart: Like, love, or fav
  • Thumbs up: Happy, approve, or agree
  • Thumbs down: Sad, disapprove, or disagree
  • Ha ha: Laugh, either happily or sarcastically.
  • !!: Exclaim emphatically.
  • ?: Question.

How do you change the emoji reaction Tapback in iMessage?

If you reply with the wrong Tapback, or you later decide you want a different Tapback, you can easily make the change.

  1. Touch and hold (long press) on an iMessage with the Tapback you want to change.
  2. Tap the Tapback you want to change to: Heart, thumbs up, thumbs down, Ha ha, !, or ?.

The new Tapback will take the place of the old one.

How do you delete the emoji reaction Tapback in iMessage?

If you accidentally send a Tapback, or have simply reconsider sending one, you can also remove it.

  1. Touch and hold (long press) on an iMessage with the Tapback you want to change.
  2. Tap the Tapback you want to remove (i.e. if you want to remove Heart, tap Heart.)

The Tapback will disappear.

Do the 3x emoji and Tapbacks work on the Mac?

Sure do! With macOS Sierra you can send and receive both the new 3x emoji and the Tapbacks, right from the Mac.

What do you think about the new emoji in iOS 10? Will you be using them? Let me know!

Guide Default Menu: 
menu-ios-imessage
Viewing all 82 articles
Browse latest View live


<script src="https://jsc.adskeeper.com/r/s/rssing.com.1596347.js" async> </script>